Interior Painting Tips: Best Practices From an Expert
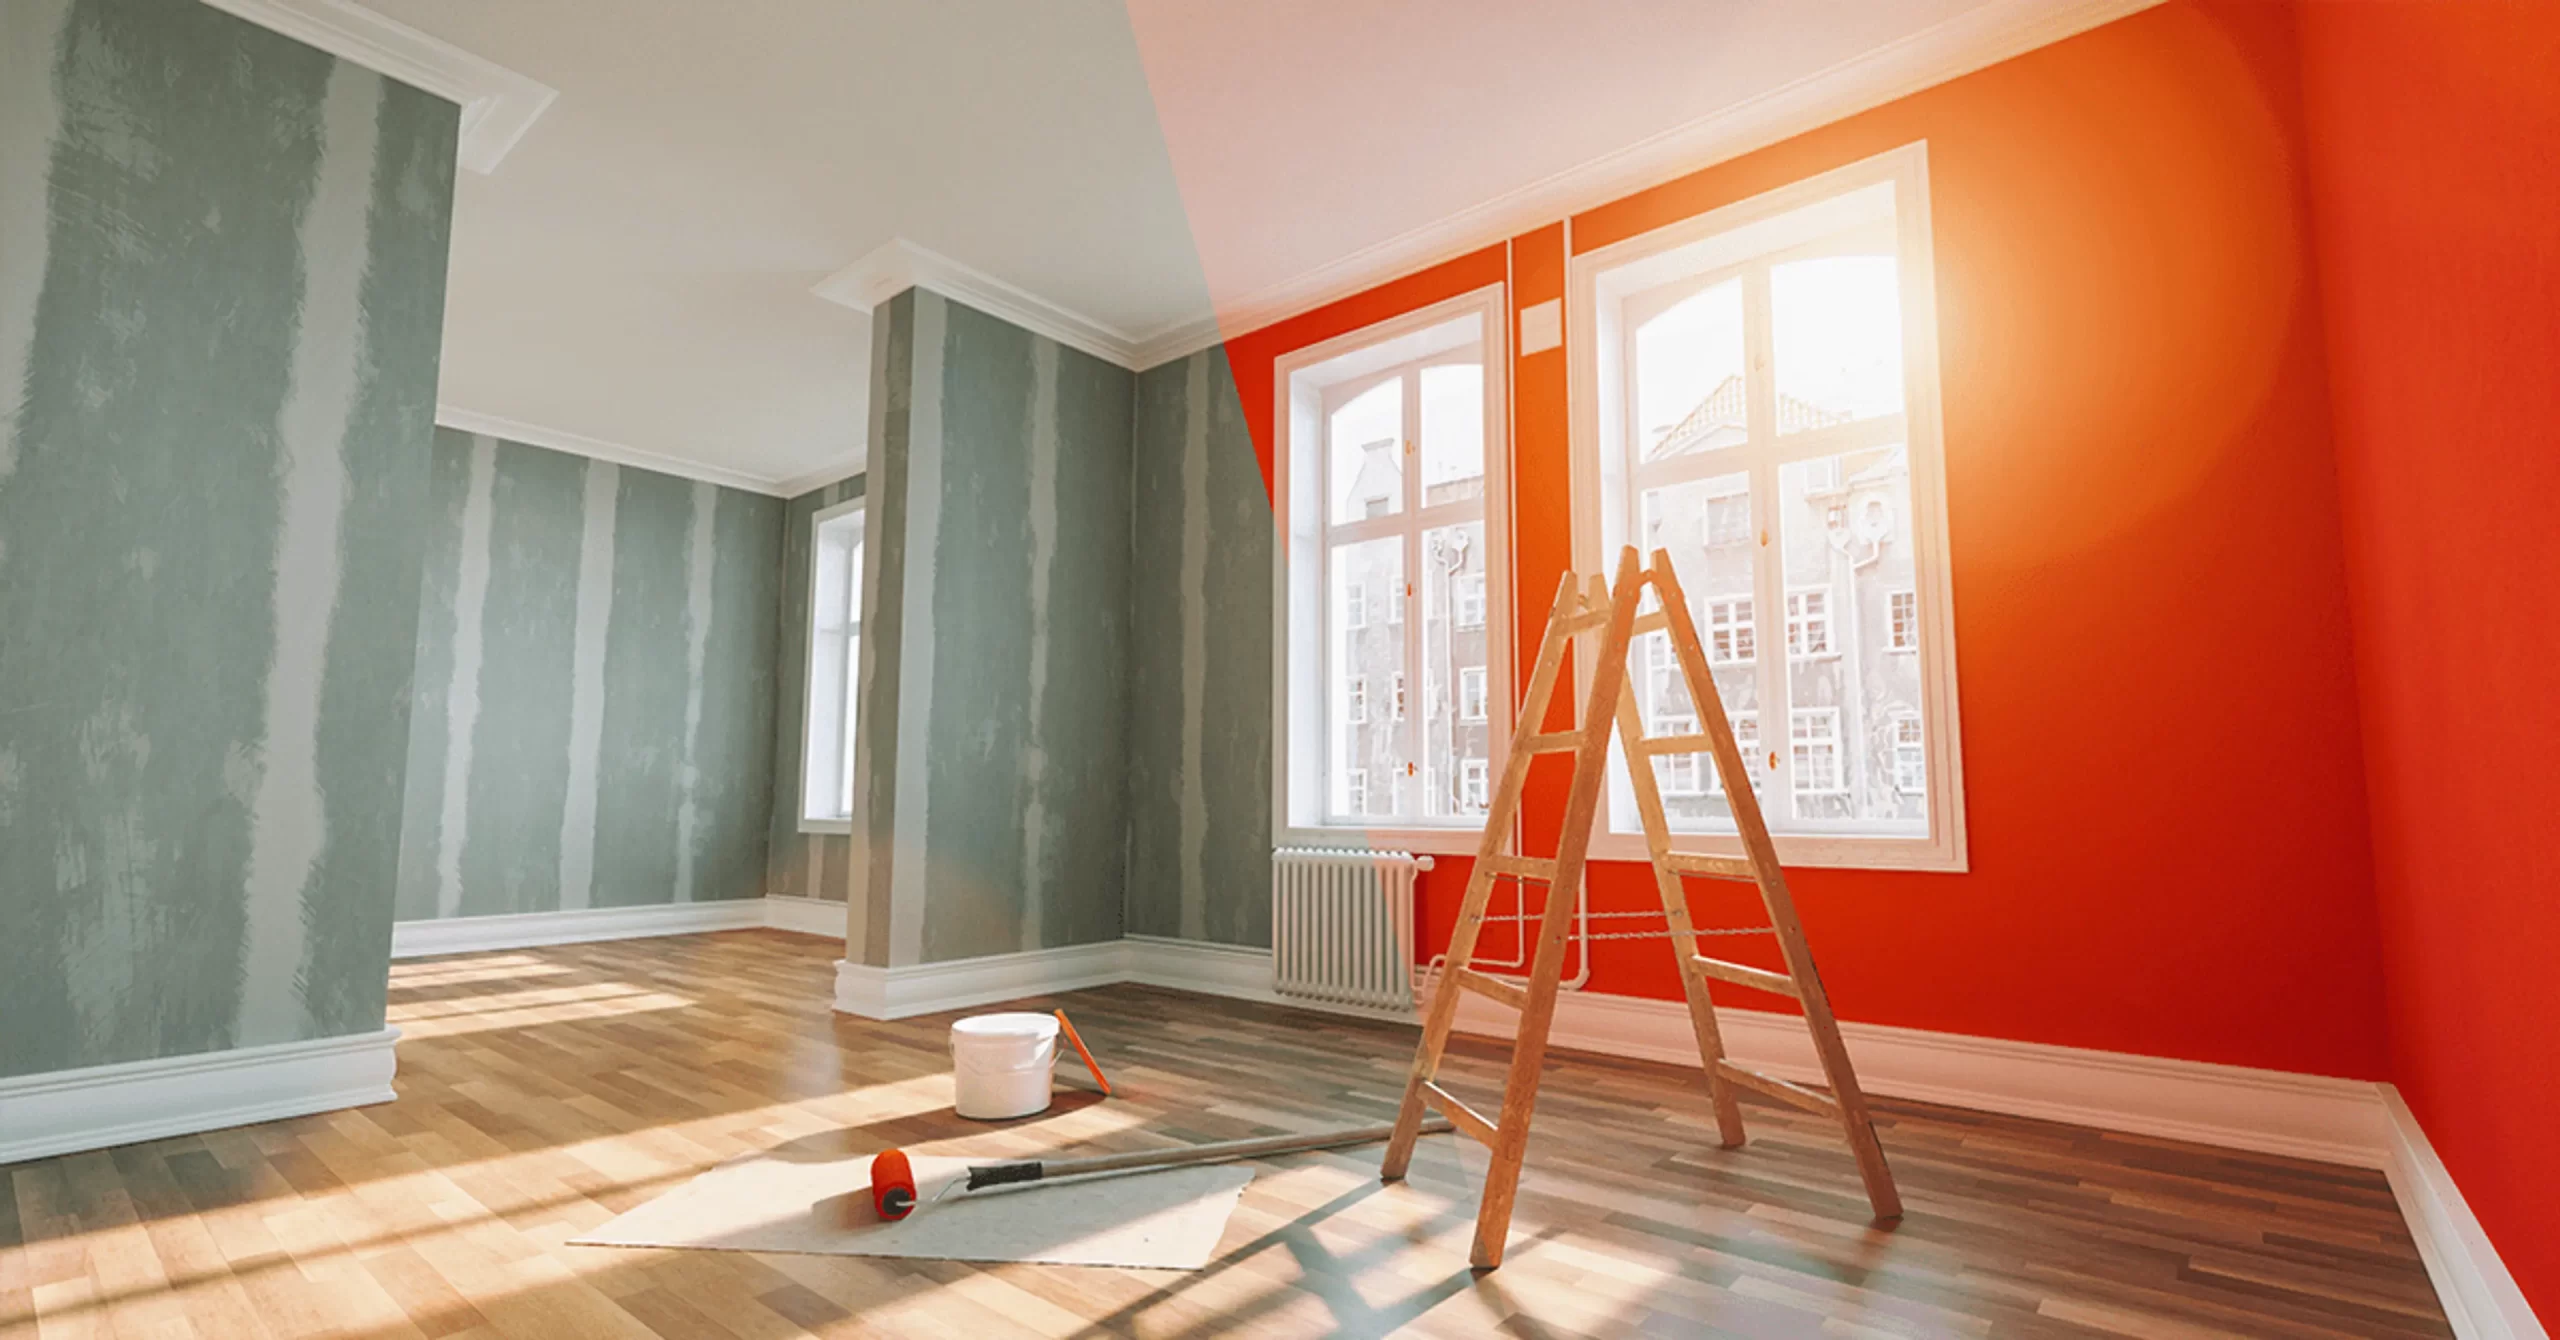
The task of painting an interior may appear simple, but it requires patience, skill and the correct tools. We explore the best practices and expert tips for interior painting.
How to Prepare a Room Before Painting
- Remove hardware: Remove window locks, lifts and doorknobs, electrical covers plates and light fixtures. Label the location of each piece and tape the screws. The items can be stored together in a bucket to make reinstalling easier.
- Remove obstacles: Whenever you can, move furniture into another room to make it easier for you to paint the area. Plastic sheet anything that can’t be moved and create a path at least three feet wide.
- Protect your floors: Professionals avoid painter’s taping because it’s difficult to apply. We tapes along the baseboards. Then he tapes a large border of rosin-paper to the tape strip and covers the remainder of the floor using plastic-lined drop cloths. This will prevent paint spills from leaking through.
- Fill in cracks, holes and gaps: Inspect walls and trim closely for imperfections. Use wood filler or ready-mixed spackle to repair holes, dents and dings. We applies joint compound to large cracks on plaster walls and uses mesh tape for smaller ones. Fill in gaps around trim by cutting the caulk tube near the tip, and applying a small amount of caulk. Pull the caulk gun towards you while you work. After that, smoothen it with a wet hand.
- Remove dust and sand: To create a smooth and even surface to paint, scuff sand moldings and doors with 220 grit paper. Smooth walls with a 120-grit pole sander. Test for lead before you begin if the paint is older than 45 years. Remove sanding powder with a HEPA-filtered vacuum, then wipe it away with a tack or damp rag.
The Best Primer to Use
Primer may not be necessary when you are recoating trim and walls that were covered previously in the same shade and formula. Primer is necessary to seal new drywall or plaster. Primer is essential when you are applying a lighter color over a darker one, if the old paint is damaged, deteriorated or if you want to cover a porous surface or smooth surface.
Here are some recommendations for surfaces that you may encounter:
- Walls: Use a 100% latex, water-based formula that is general purpose. Ask your paint shop to tint the primer if you are making a major color change. This will ensure an even coating.
- Unpainted wood trim: For this, we uses oil-based primer: “It seals and fills the pores to ensure that any paint you use adheres.”
- Painted trim: A water-based primer will work for trim that has been painted with latex. If you are unsure of the type of paint used, it is best to use an oil-based primer.
- Clear coated wood trim: Shellac primer is the best option if the trim already has a polyurethane coat or varnish. Both oil-based primers and shellac primes emit volatile organic compounds that can harm your lungs. Work in an area with good ventilation.
- MDF: Choose a primer with shellac or oil for medium-density fibreboard mouldings or built-ins. Water-based primers can cause material to expand and crumble.
- Masonry: Do you have an exposed brick wall, or chimney inside? Seal the pores using a latex water-based primer.
- Metal: Apply an oil-based primer to ferrous metals containing iron in order to prevent rust. Use a latex-based water-based metal primer for nonferrous surfaces.
- Plastics: When painting laminates, use a primer that is a modified form of acrylic, designed to adhere to surfaces with a slick surface.
Paint Tools You Must Have
- Paintbrushes: We prefers brushes with synthetic bristles for latex paints. He uses a 2-1/2-inch angled Sash Brush to cut in. He uses a 1-1/2-inch sashbrush for detail work and a 3-inch flat brush to cover large areas. He uses disposable foam brushes and natural hog-hair brushes when painting with oil-based paints.
- We uses lint free microfiber covers for his paint rollers and roller covers. He selects between three nap sizes: 1/4″ for smooth surfaces, and 3/8″ for semi-rough surfaces (commonly found indoors). 1″ is for textured surfaces. He starts with a sturdy frame and adds an extension pole to reach ceilings or other difficult-to-reach places.
- Painter’s Tool: Professional expert painters in Wellington use this classic multitool to scrape out joints, cut tape, pry open cans, clean roller covers, etc.
- Pole Sander: A pole with a sanding head and 120-grit paper smooths the walls before painting. We recommends that you sweep the sander from top to bottom, working your way down.
- Painter’s Tape: To cover up finished surfaces such as floors, we applies low-tack tape. He burnishes with a putty blade the edge to prevent bleeding.
- Caulk Gun: We uses a manual caulk gun with a built in tip cutter, and a steel hinged pin to puncture the seal of a tube containing a good quality paintable white acrylic.
Plan Your Painting: When To Paint What
We says that following a logical sequence is important for any painting project. It saves you time and protects the work. This way, you will not be dripping or brushing paint onto wet surfaces. You can avoid having to redo the work.
1. Paint the ceiling first. Use an angled sashbrush to paint a three-inch band around the perimeter. Then, use a roller mounted on an extension pole for the large expanses. Do two coats.
2. Trim, windows, doors, paint them all. Start with the crown molding, then move on to windows and casings. Finish off by painting doors and casings. You can paint doors while the room dries if you remove them to another area. Paint any trim or wall panels.
3. You can now paint the walls after completing the details. If the paint is uneven, you can create a crisp edge by cutting in and rolling it.
4. Baseboards should be painted last. Since you are working with gravity, you can now clean up any paint drops that have fallen. Cut along the top molding and then continue to the floor.
How to Hold a Paintbrush
You can control the paint flow by using the right grip. Hold the brush as if it were a pencil. Your index finger should be touching the ferrule on the narrow side. You can then use your thumb and remaining three fingers to hold the brush. It’s a good way to cut in. We says that it is OK to change your grip depending on the task at hand. It helps to fight hand fatigue.
How to load a paintbrush
Never dip a brush in a paint can. We warns that if dust or debris gets into the can, it could contaminate the entire can. Pour paint into the small paint bucket, about half-full. He says that to load the brush with paint, you should dip the bristles about two fingers wide into the paint. This will prevent dripping and you won’t have to clean your brush after you finish.
How to Roll Paint on a Wall
For a smooth and even finish, apply moderate, even pressure. Fill the reservoir of the paint tray below the ridges. Then, roll the roller cover over the ridges to distribute the paint. We says that if the roller cover is completely covered in paint, then you’ve got enough. It shouldn’t drip.
Place the roller on the wall flat, starting at the edge of your cut-in area. As you fill the gaps, roll the paint on in a W-shaped pattern. Do not press too hard, or stretch the paint towards the end. This will cause ridges. Apply a smooth and even coat in an area of 3 feet by working on it.
After you have covered the wall with the paint, use a roller lightly loaded to blend the brushstrokes that you made when cutting in.
Repeat the rolling and cutting sequences to apply the second coat. Let the walls air dry for 90 minutes.
Quick Guide to Paint Finishes
There are many paints with different sheens that reflect light. We explains how he decides which sheen to use.
- Flat: This is the lowest sheen. The paint absorbs the light. It’s perfect for areas with little traffic, like ceilings. It also hides imperfections on the surface.
- Matte: Matte has a slight reflective sheen and is more durable. It also hides minor imperfections. It’s not as easy to wash as paints that have a higher sheen but it can be touched up more easily if the surface is scuffed. It’s good for low-to-moderate-traffic areas such as bedrooms.
- Eggshell: It’s a soft velvety sheen that is more stain resistant and washable than matte paint. It is ideal for areas that are subjected to moderate to heavy traffic such as bathrooms, kitchens and hallways. Durability is a must.
- Satin: Satin has a pearlescent sheen. Easy to clean and therefore ideal for cabinets.
- Semigloss: This has a sleek and radiant sheen. It is also scrubbable. We uses it for trim, playrooms, and doors.
- High Gloss: It has a brilliant sheen with a glassy shine. He uses it for accent walls or ceilings, as well as entry doors.
How to Paint a Straight Line Without Painter’s Tape
Painter’s tap is not always an option. You may need to paint the outside edge of window sashes or a side casing that is too close. We will use a wide tape or putty knife to guide him in these situations. Here’s how:
- Place the blade along the edge that you wish to paint. It is important to grip it tightly, but also be able to slide it.
- Drag both hands at the same speed down the joint.
- Stop painting the blade when you see paint accumulating on it. Lift it gently straight up to prevent paint bleeding onto adjacent surfaces. The blade should be cleaned.
- Continue to paint the joint the same way. Flip the brush and paint the opposite direction once you reach the end to smooth your brushstrokes.
Paint Cleanup Tips
Remove the protective covers and clean your tools thoroughly.
- Remove dried-up masking liquid: First make sure the paint is dry. It’s best to wait 90 minutes. It’s important to avoid the paint peeling off with the protective barrier. Use an utility knife to score along the edges and lift the mask off one piece.
- Remove painter’s tape: Once paint has dried, gently pull painter’s tape off at a 45 degree angle so as not to take paint along with it. If the edge has been painted, use a putty blade to score the line.
- Clean Paintbrushes: To remove latex paint from the brush, run it under warm water while the bristles are pointed downward. You can use your fingers to rub a few drops dish detergent into the brush bristles while keeping the water away from ferrule. Use a nylon or plastic scrub pad to remove any paint that has stuck on the bristles. Avoid metal combs or brushes. Avoid using brushes and combs with metal bristles. Mineral spirits can be used to remove oil-based paint.
- Wipe off excess moisture using paper towels. Then spin the handle of the brush between your hands: Never put wet brushes into a container where moisture could seep in and cause rust. To keep bristles in good shape, lay brushes flat on a surface or hang them from a hook.
- Remove paint from paint-roller cover: First, use the curved edge of a 5-in-1 multi-tool to scrape the paint off the cover. Pull the cover half off the frame with latex paints and then run it under warm running water. Use your hand to push out the paint from the fibers. Pour solvent in a paint tray, and then dip and roll your cover a few time. Replace the solvent with clean one for the final rinse. Then, blot it with a paper towel and let it dry.


Post Comment